Injector Proximity Sensor Replacement
Purpose: the current procedure for replacing or adjusting the proximity sensors is not in the latest version of the tech manual. Please follow the following procedure when replacing or adjusting the proximity sensors for the fill injectors to prevent over tightening and damage to the sensor head.
- Please read through this document first.
- Make sure the machine is powered ON while performing this procedure.
- Remove the existing sensor
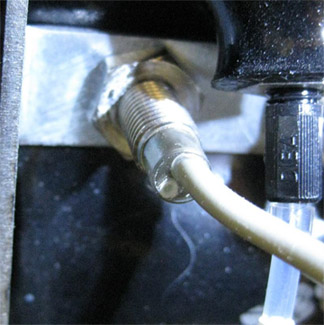
- Screw the new sensor into place by hand until the sensor head just hits bottom – then plug into the PCA. The light at the back of the sensor should be off.
- Note the position of the small white circle on the back of the sensor.

- Now turn the sensor by hand counter-clockwise about ¾ turn, using the white circle as a guide.
- Hand tighten the nut while keeping the sensor in place, then use a wrench or pliers to continue tightening until firmly tightened.
- The light on the back of the sensor should NOT turn on while tightening. If the light does come on, and the injector is not in the holster, the sensor is over tightened – loosen the nut and repeat the procedure.
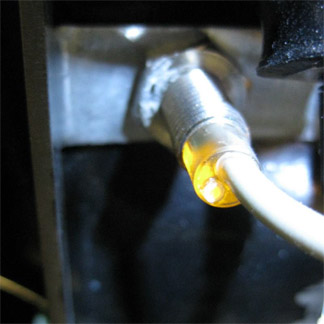
- Once the nut is firmly tightened, put the injector back into the holster and confirm that the light comes on as shown below:

- If the sensor does not turn off when the injector is removed, or does not turn on when the injector is inserted, repeat the adjustment.
NOTE: the injector holster is held in place by the proximity sensors and nuts. The vacuum chamber integrity is affected by the tightness of the proximity sensor nuts, and the ability for the chamber to hold a vacuum must be tested in Tech Pane (Chamber Leak Test – Field Service Tab). If the chamber does not hold a vacuum, check all sensor nuts and tighten if necessary.
DOWNLOAD: Injector Proximity Sensor Replacement PDF (if you are currently viewing this on the InkCenter do not attempt to download the PDF)