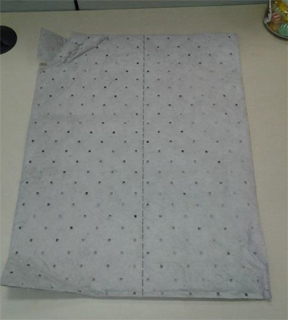
Absorbent Pad
Objective: Installing an Absorbent pad under the infusion pump to make cleanup of ink spills easier.

1 Remove work surface
Clear any loose items from the top of the work surface.
Remove the tester cover by pulling forward and set it aside.
Raise the vacuum chamber door by pulling forward and up on the handle until it locks into the open (top) position.
Open the left upper drawer (labeled REFILL ADAPTERS) to gain access to the underside of the work surface and remove the thumb screw fastener.
Open the right upper drawer (labeled TEST ADAPTERS) to gain access to the underside of the work surface and remove the thumb screw fasteners
Grasp the sides of the work surface and pull towards you to slide it off the machine.
2 Remove lower back cover
Using a 3/16" Allen tool, remove the two fasteners securing the lower back cover
Grasp the handle on cover and pull top of cover away from ink center
Lift up on cover to release the 2 interlocking tabs and set cover aside
3 Clean under the infusion pump and vacuum pump area
Use paper towels to wipe up any ink residue
Use the cleaning wipes to remove dried up ink
Dry with paper towel
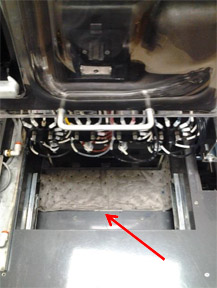
4 Place pad under infusion pump and vacuum pump area
Position Pad under the infusion pump.
Make sure it does not go under the supplies drawer as it may cause issue opening or closing that drawer
 Align front of pad with lip.
5 Complete Total Service Call
Please complete the TSC and address any other machine issues
7 Reinstall covers and work surface
Install covers in reverse order of steps 1 and 2
DOWNLOAD: Absorbent Pad Installation PDF (do not try to download this image if you are viewing on the InkCenter)